How to choose and install an A/C unit in your apartment for summer
Summer is just around the corner and so are the inevitable heat waves. So if your apartment doesn’t have central air conditioning, you may be considering adding in a portable A/C or a window unit. Read on for everything you need to know about installing an A/C unit and where it’ll work best in your apartment.
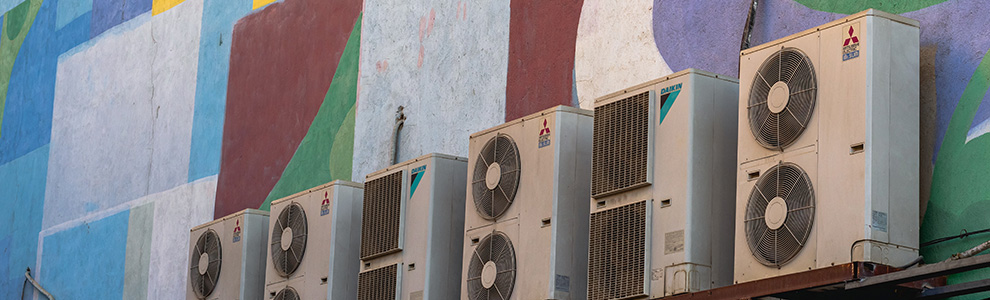
Psst! Looking to upgrade to a cooler building? We have apartments across Canada with central air. Take a look at them here.
• Note: Minto Apartments allows for window air conditioners to be installed in windows that are directly above the residents own balcony, unless there has been a shelf or brackets already installed for the unit. Portable air conditioners are welcome in all cases.
Picking the right unit for your space

If your apartment is short on square footage, you may have to opt for a window unit rather than a portable unit option in order to save floor space.
Note: Be sure to check your lease and consult your landlord about installing your A/C. For aesthetic and safety reasons, some buildings may not allow you to install a unit in your window.
Take a look at the square footage a unit will be able to cool before you buy, otherwise you may end up with one that’s too small and constantly running or too powerful and cycling on and off all the time. Either way can have an impact on your electricity bill.
• Tip: Air conditioning units have BTU (British Thermal Unit) ratings. Essentially this tells you how quickly and efficiently your unit will cool the room. If you’re not sure what BTU rating you’ll need, use this handy calculator.
Before you buy:
• Know the size of the space you’re cooling to get a unit with the proper BTU rating.
• Measure the size of the window you’ll be placing the window unit in or the floor space you have for a portable unit.
• Be sure your window will be able to accommodate the unit itself.
• Check your connections and whether there’s a power outlet nearby.
Other things to look for

Once you’ve done your research and know the type and size of unit you’d like to buy, there are a few other things to look for in an air conditioner:
• Filters that are easy to access and replace: Learn how to replace your units filter and how frequently it needs to be changed.
• Humidifier/dehumidifier: Take the moisture out with the dehumidifier in the hot summer months, and use the humidifier in the winter time to bring moisture back when your heat is on.
• Multiple fan settings: You may want to adjust the settings depending on your needs, so it’s nice to have a few options.
• Slide-out chassis: Easier installation for you!
• Energy-saver options: Save a little money on your bills by investing in a unit with energy saving options.
• 24-hour timer: Set the unit to run at specific times so it’s not running when you’re not there.
• Remote control or Wifi capable: Control your unit from anywhere in your apartment.
• Quiet operation: Some units can be loud, so look into some of the quiet options available.
For more information on what to look for in an air conditioning unit, check out The Home Depot’s guide to choosing the best air conditioning unit for your needs.
Installation

Installing an air conditioning can be a bit tricky and window units tend to be a bit on the heavier side, too so make sure you have someone there to help you.
Here are a few tips for a window unit:
1. Prepare your window and install brackets. You can’t just pop your unit into the window, plug it in and call it a day. These units are heavy and require extra support to ensure everyone’s safety. If your unit didn’t come with brackets, consider purchasing additional ones to alleviate some of the weight off the window sill.
2. Attach mounting rails and or side panels. Most window units will come with mounting rails for the top and bottom of your unit. Make sure to tighten all screws so nothing is loose! Then, attach the accordion style panels to the side of your unit (before placing in the window). These will be used once installation is complete to ensure the unit takes up the full window and no air escapes through the sides.
3. Lift unit into place with assistance. This is a two-person job! And once the unit is placed in the window, lock it securely into its mounting rails and stretch the side panels to fit properly in the window.
4. Don’t forget to account for tilt. Because these units will be essentially sucking humidity out of the room, the water will need to go somewhere. Older units have to tilt slightly away from the building so they can freely drip condensation outside, instead of creating a puddle in your home. Check the manufacturer’s instructions for exactly how much it should tilt. Newer units tend to have a drip tray installed inside them that you’re able to empty.
5. Plug it in and cool yourself off. Your apartment should start cooling as soon as you plug it in and turn it on!
For more tips on installing a window unit A/C, check out this article.
Tips for a portable unit:
1. Prepare your window and clear the area. This installation will be much more straight forward than a window unit. Clear the surrounding area and wipe the window sill if it’s dirty from being open.
2. Place the window kit. Portable A/C units will come with an extendable window kit. Insert your kit into the window and make sure it fits tightly and securely, then close your window to seal the kit in.
3. Connect venting hoses. Connect the venting hoses to the window kit and ta-da! It’s that easy. You may consider adding weather stripping around the window kit to ensure no air escapes, however, most newer models tend to fit pretty securely.
If you’re looking for more information on installing a portable A/C unit, check out this article.
Start cooling your space

Play around with the settings to see what feels right. Some units can be very powerful, especially if you’re going from open windows to air conditioning, so rather than grabbing a sweater because you’re too chilly, find the temperature you’re most comfortable with.
If you’re really not sure what you’re doing or are worried you’ll mess it up, the store you bought the unit from should have appliance experts on hand, or contact the Home Depot or Lowes if you have any questions or need assistance.
Most importantly, keep an eye on extreme heat weather advisories and make sure you keep yourself and your pets cool this summer!